Supported Protocols
Bytebase supports three SSO protocols:- OAuth 2.0 — Authorization protocol. Bytebase gets a token and fetches your profile from the provider. Good for providers that don’t support OIDC (e.g. GitHub).
- OpenID Connect (OIDC) — Identity layer built on top of OAuth 2.0. Adds a standardized ID token so Bytebase gets user info directly. Preferred when available.
- LDAP — Directory lookup protocol. Bytebase queries a user directory directly with username/password. No browser redirects involved.
Authentication Flow
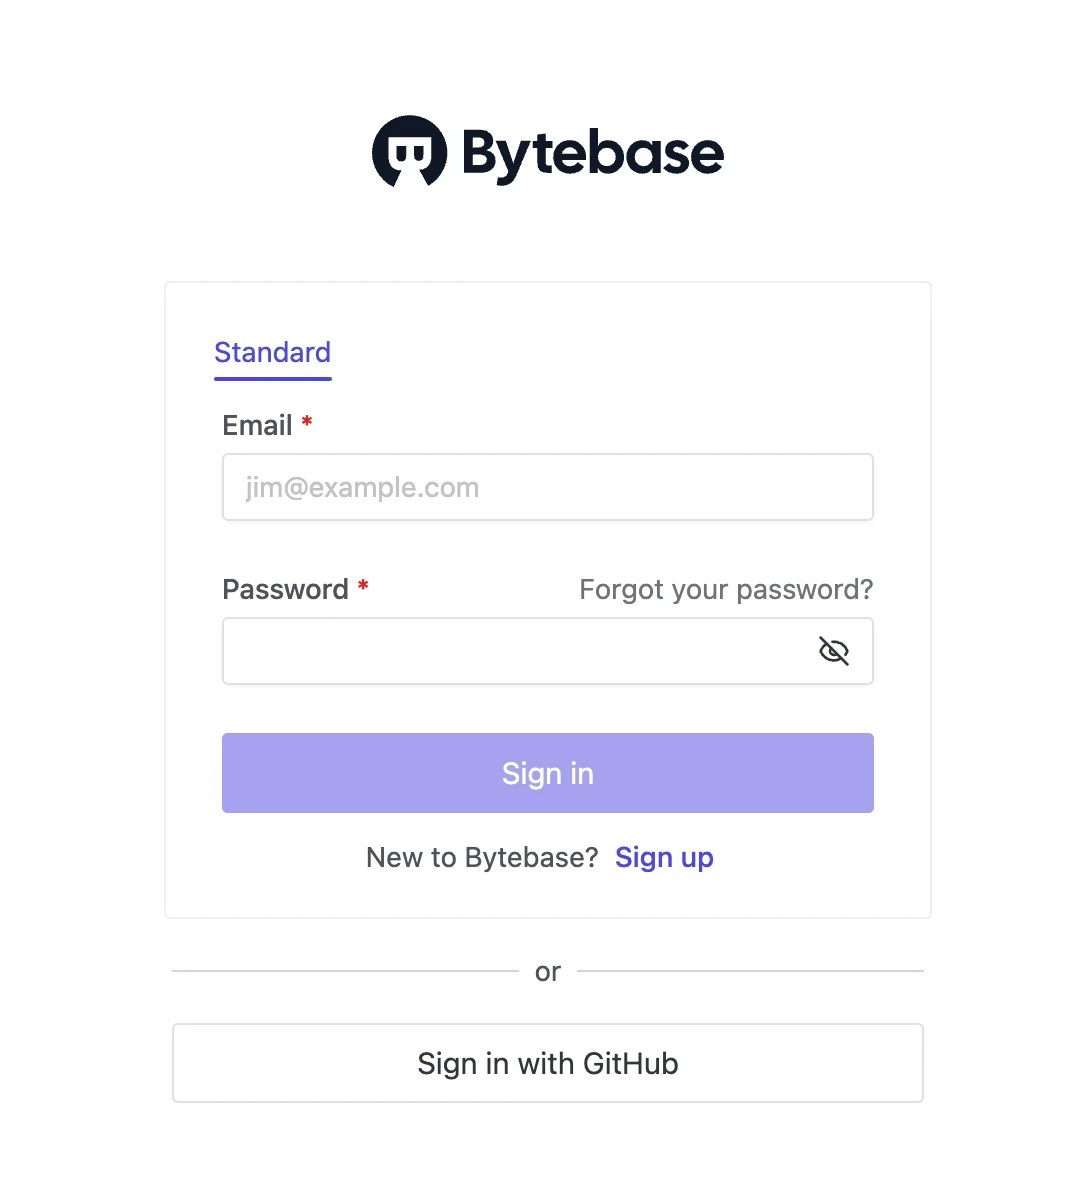
There are two ways SSO authentication can start:- SP-Initiated (default) — User visits Bytebase, clicks “Sign in with X”, gets redirected to the identity provider, then back to Bytebase after authentication.
- IdP-Initiated — User clicks the Bytebase tile directly from their identity provider’s dashboard (e.g. Okta portal) and lands in Bytebase already authenticated. Works with OAuth 2.0 and OIDC providers.
User & Group Provisioning (SCIM)
SSO handles authentication (who is this person), but not provisioning (creating/updating/deactivating accounts). For automatic user and group provisioning, Bytebase supports SCIM 2.0 with Entra ID and Okta.Which Protocol to Use
| Identity Provider | Recommended Protocol | SCIM | Notes |
|---|---|---|---|
| OIDC | — | Also available via OAuth 2.0 | |
| GitHub | OAuth 2.0 | — | GitHub does not support OIDC |
| GitLab | OIDC | — | Also available via OAuth 2.0 |
| Microsoft Entra ID (Azure AD) | OIDC | Yes | Also available via OAuth 2.0 |
| Okta | OIDC | Yes | Also available via LDAP (no SCIM) |
| Keycloak | OIDC | — | |
| Casdoor | OIDC | — | |
| Authing | OIDC | — | |
| JumpCloud | LDAP | — |
Prerequisites
Configure External URL.Create SSO provider
As a Workspace Admin, you can create a SSO provider following the steps below:- In Workspace, go to IAM & Admin -> SSO from left side bar.
- Click Create to start creating SSO.
-
Fill in all the required fields.
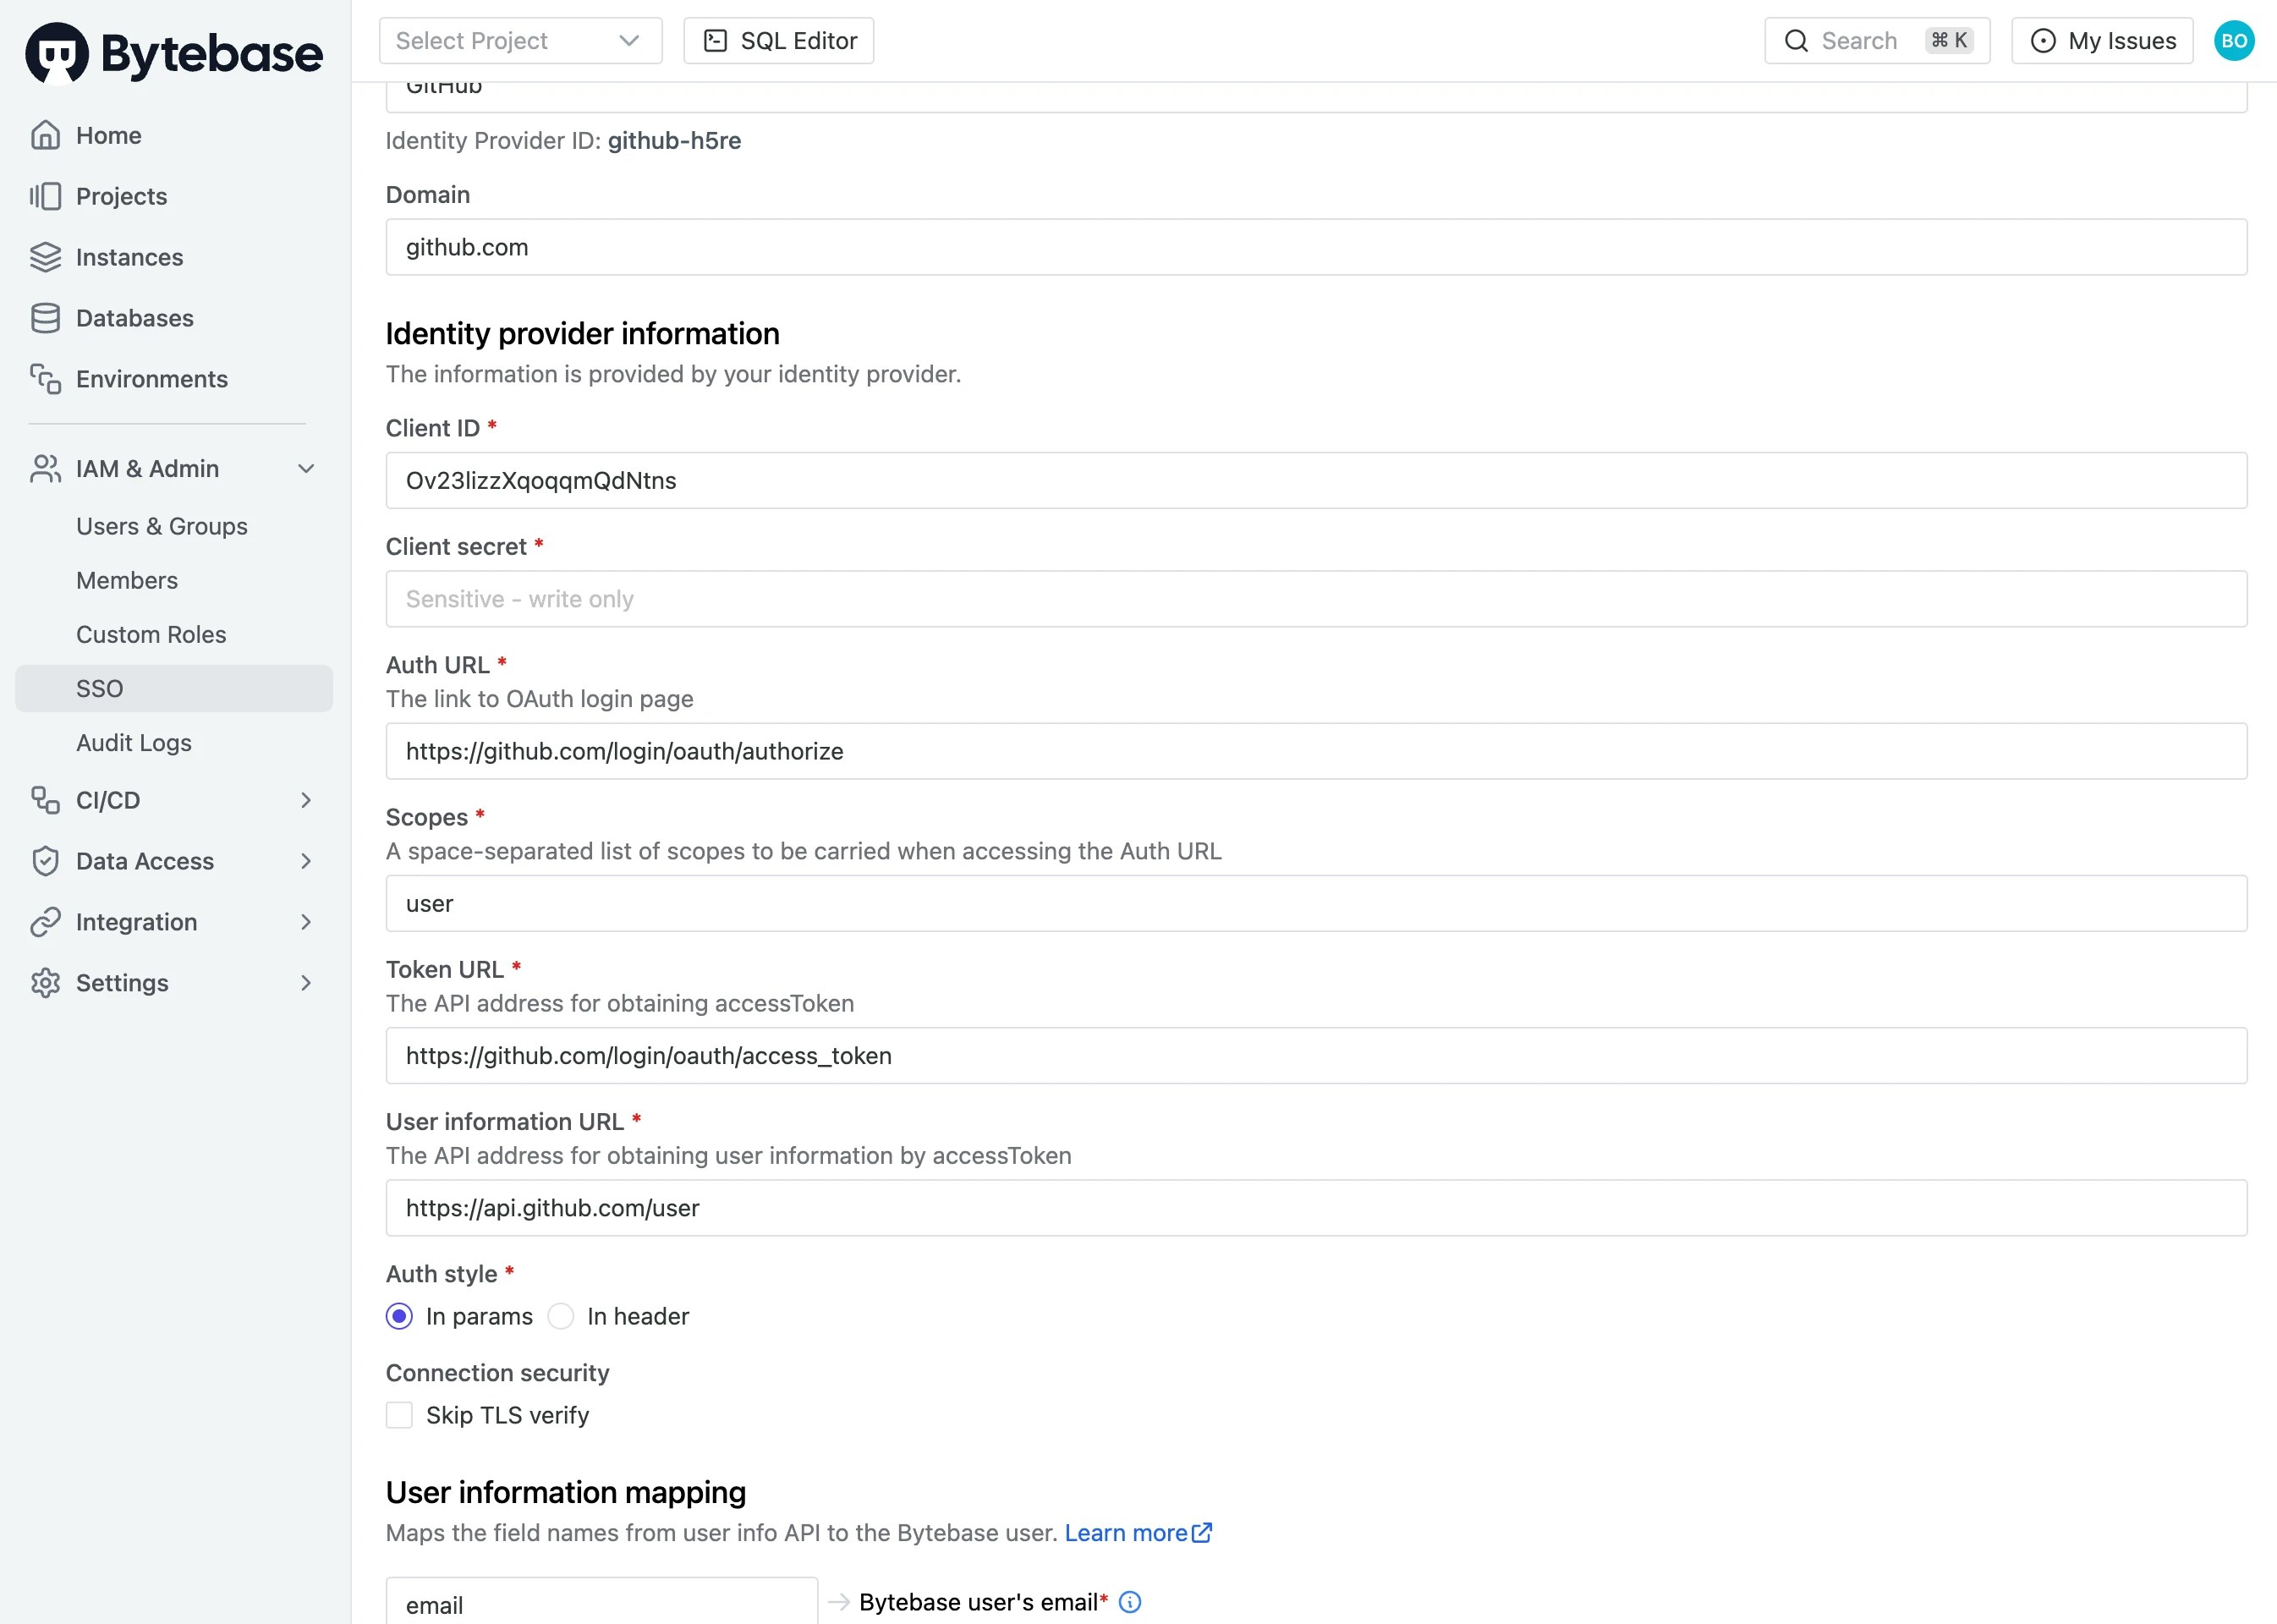
- Test Connection on bottom left.
- If successfully connected, click Update on bottom right.
Sign in with SSO
Bytebase employs JIT (Just-In-Time) user provisioning. It will create the user the first time the user signs in.
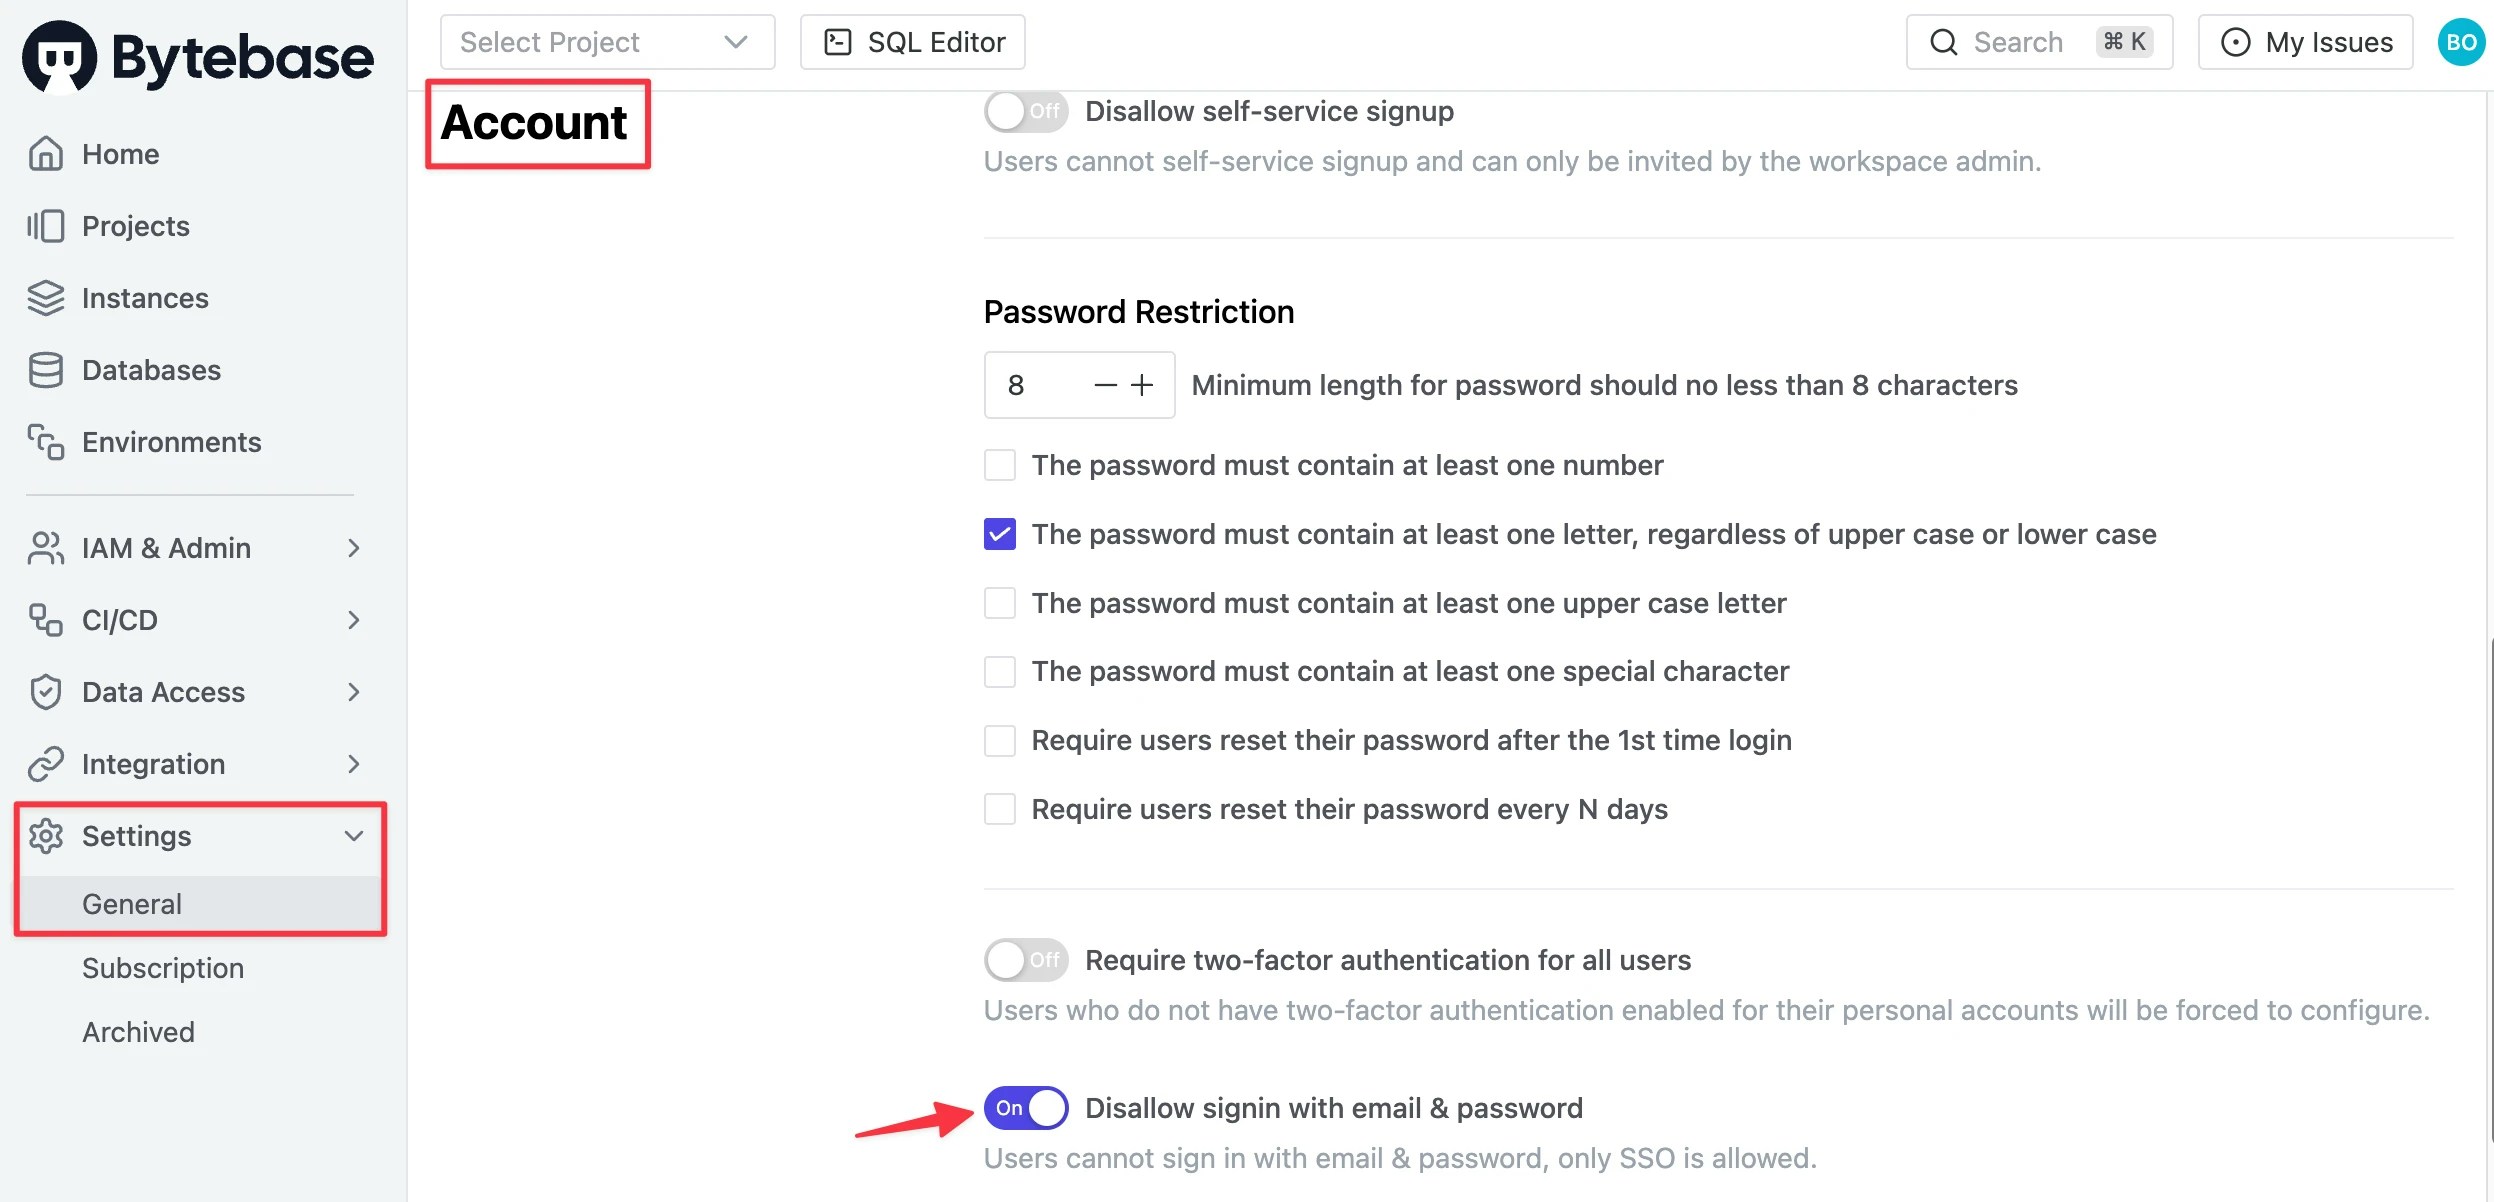
Enforce SSO Sign-in
AsWorkspace Admin, you can enforce SSO sign-in for all users in Workspace.
In Workspace, go to Settings > General, scroll down to Account section and switch on Disallow signin with email & password. Then users can only sign in with SSO.
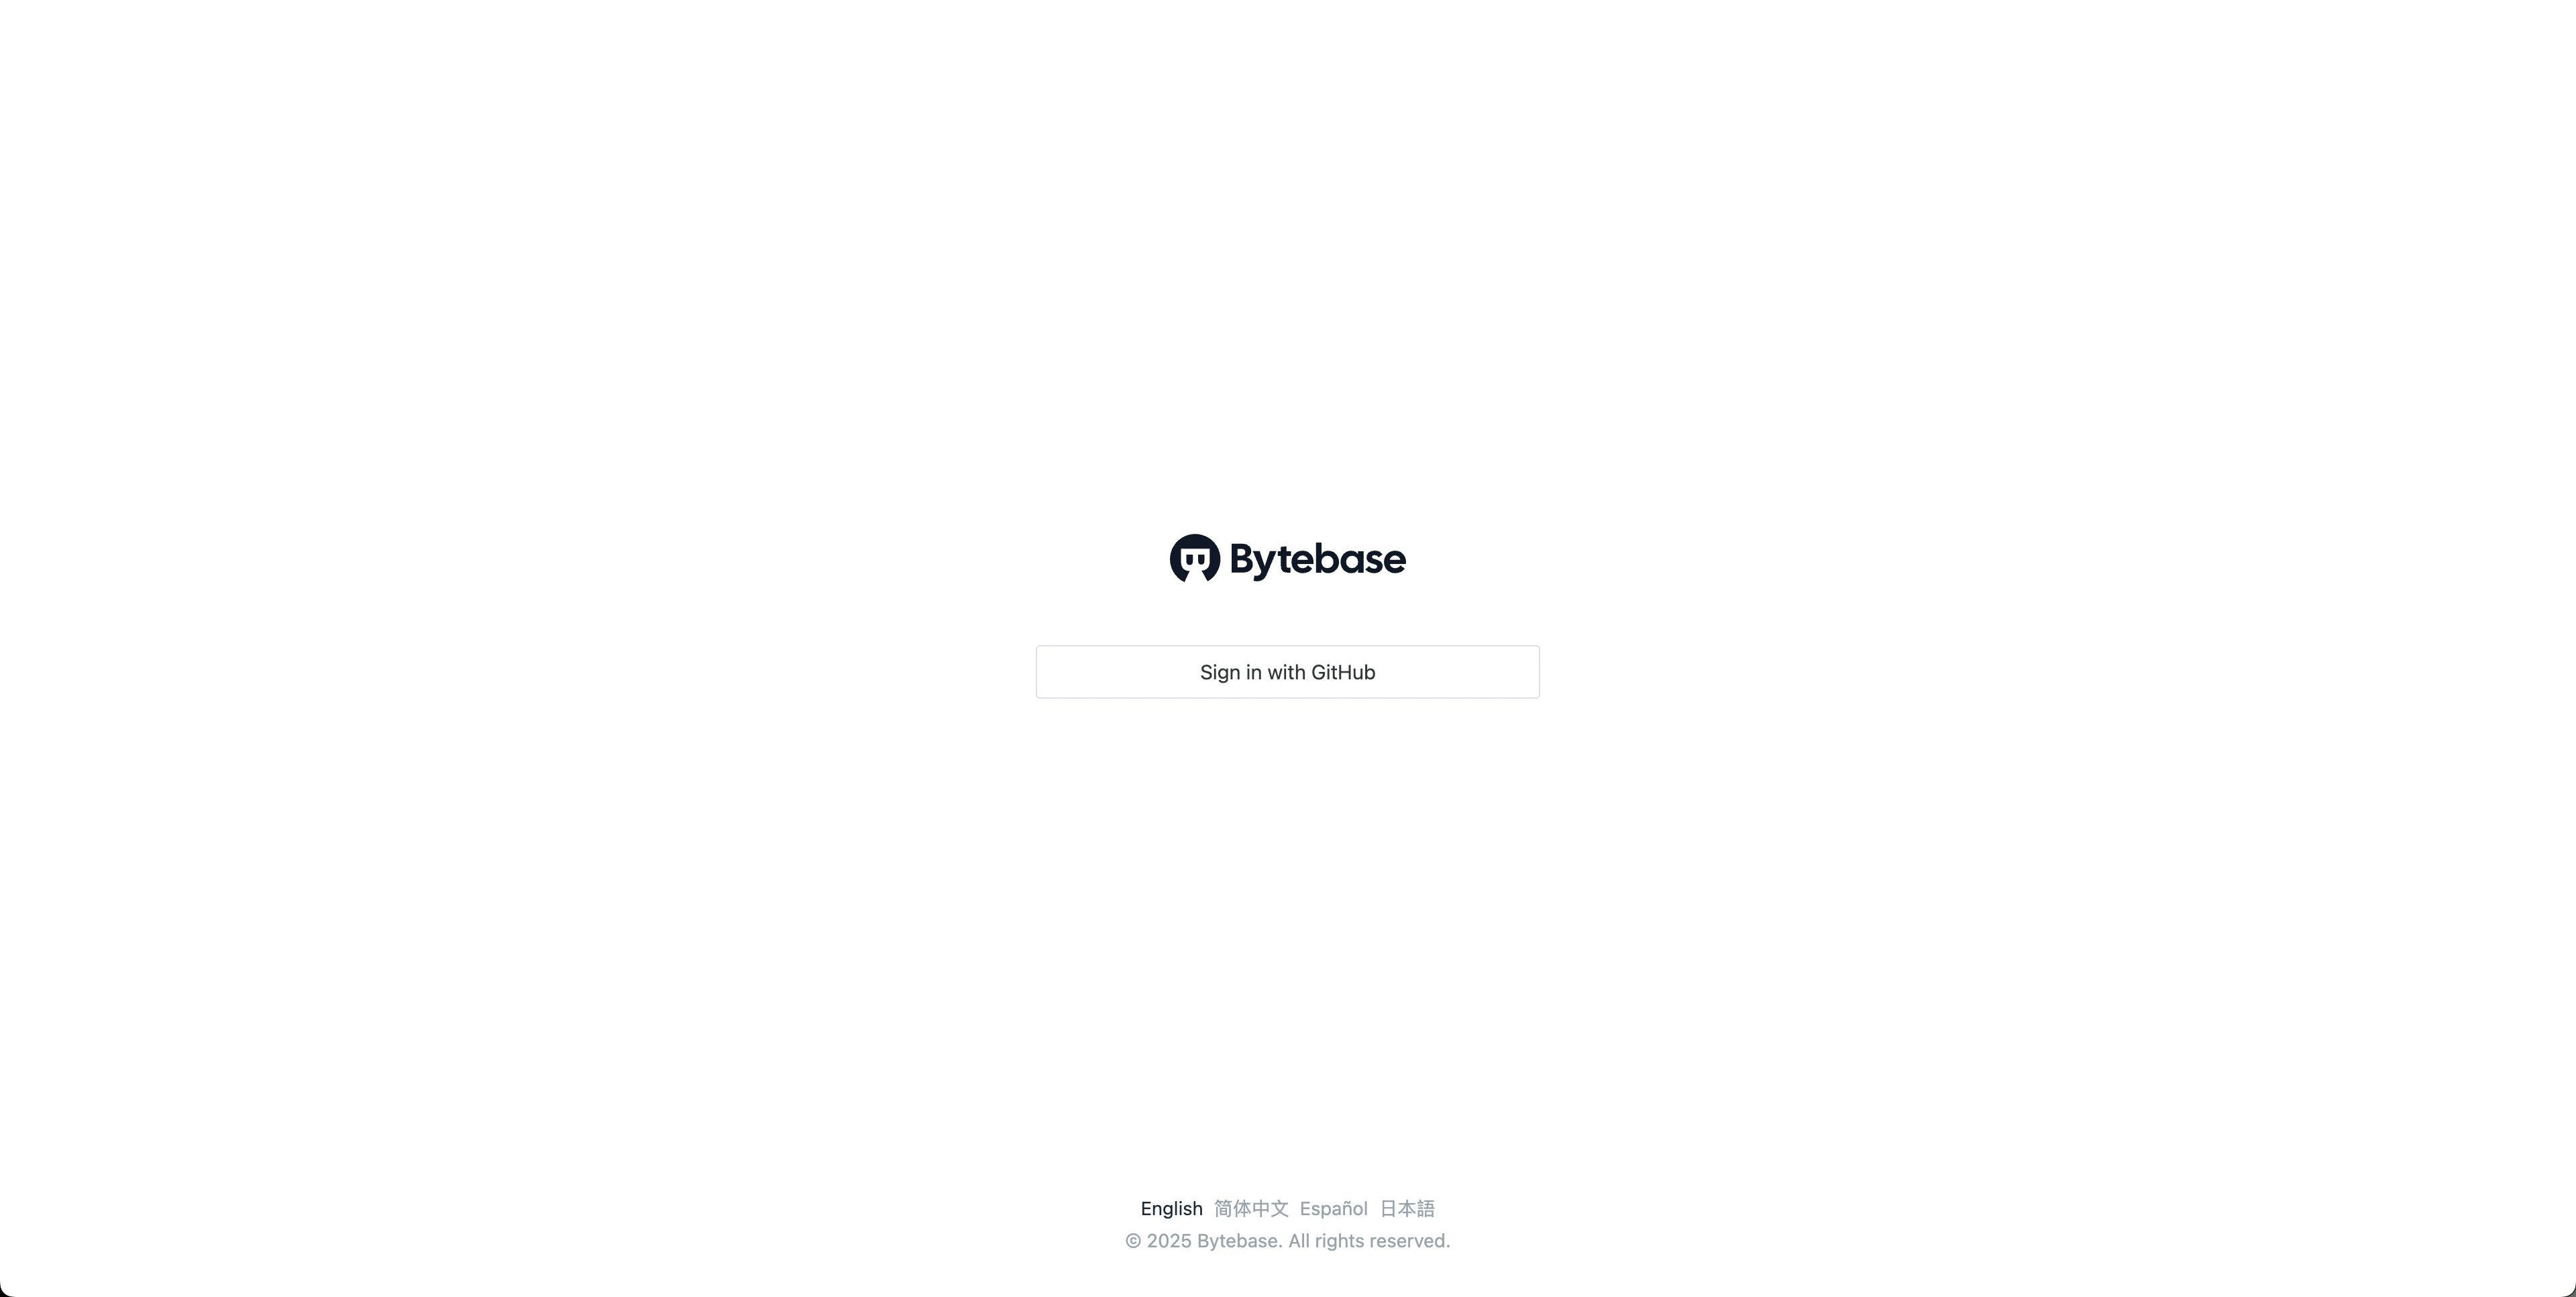
<YOUR_URL>/auth/admin and entering the email and password.